Cloudrock identifies which category a translated article should go into. But you need to set up a translated version of each category beforehand. This is an easy process.
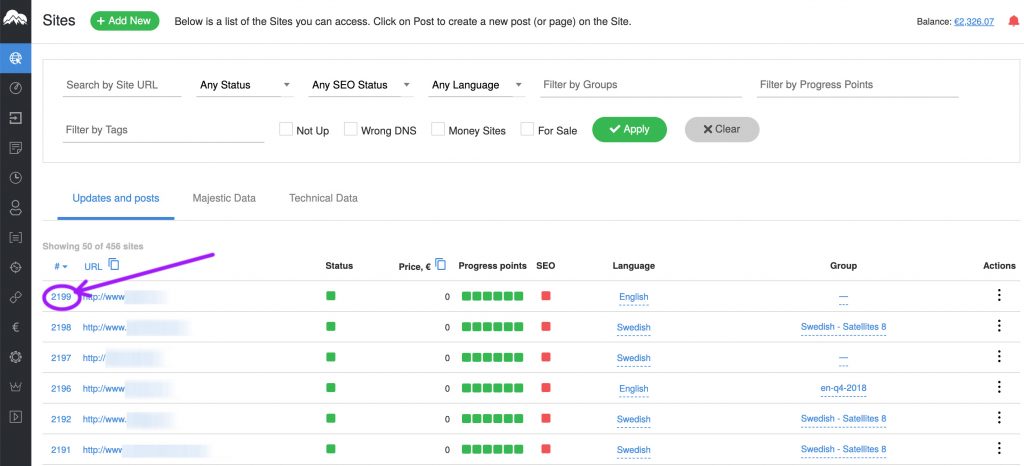
Step 1. Go to the sites edit section by clicking the ID number in the list of sites.
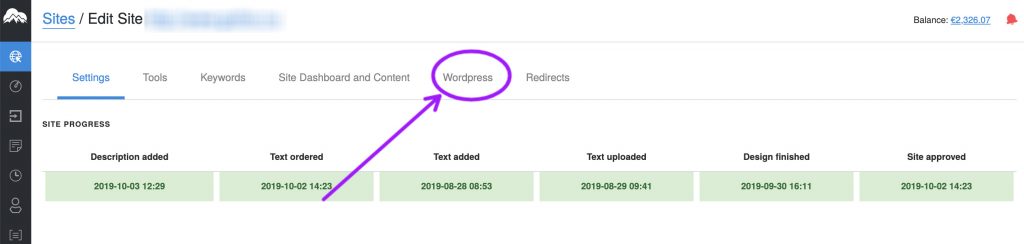
Step 2. Click on the WordPress link.
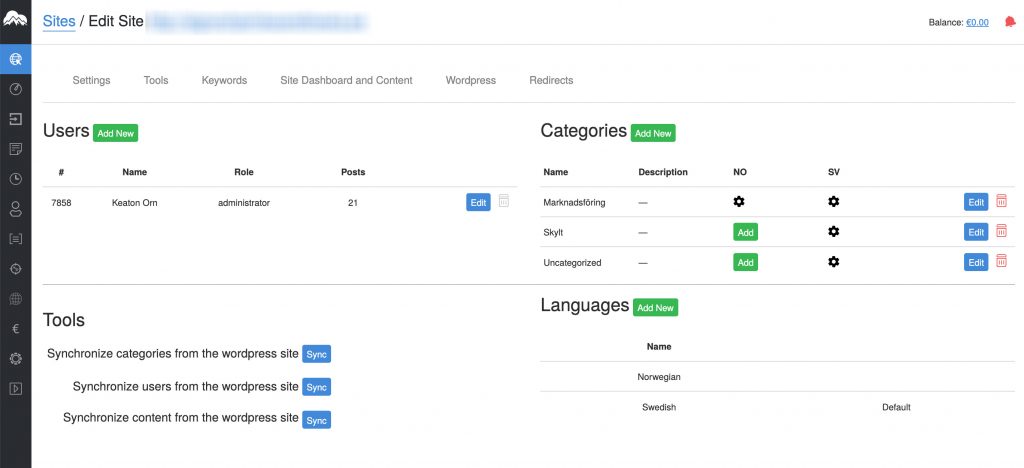
Step 3. Add the local variant of a category.
In the table of categories, you will see a green “Add”-button for the local versions that doesn’t exist yet.
In this example above none of the Norwegian versions have been added. Just click a green “Add” button to add one.
Step 4: Input the local name (use Google translate to translate the word) and then click “Add”
Congratulations. Now you have a local version of the category, and can begin translating.